Texture Color

Texture Color Tutorial

This tutorial will show you how to modify an items ColorSet texture.
This allows you to change the color of any item in the game, provided that it has a ColorSet texture present.

Exporting the ColorSet

Select the ColorSet from the Texture Map drop-down list, and click on Export as DDS. We then open the texture in Photoshop.

(For detailed info on how to open the texture in Photoshop, take a look at the Texture Modding Basics Tutorial).


Photoshop Settings

The ColorSet Texture is very small at 4×16 pixels, so you will have to zoom in to the maximum amount at 3200% to see the texture properly.

You will also want to use the Pencil Tool with a size of 1px to color in any part of the ColorSet.

The ColorSet

ColorSet Columns

Each section in the ColorSet effects the color of the item differently.

Column 1 – Diffuse Color (The base color)
Column 2 – Specular Color (The reflectivity/shininess color and intensity)
Column 3 – Emissive Color (The color and intensity of glow)
Column 4 – Shader/Texture Repetition (Not covered in this tutorial)

Determining Color Sections

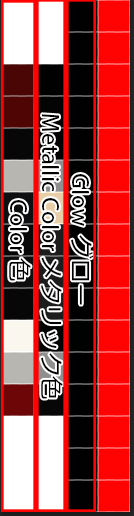
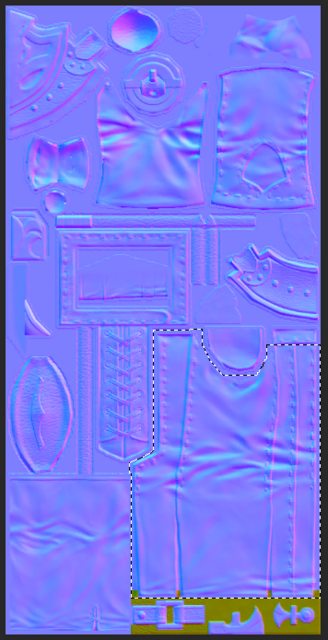
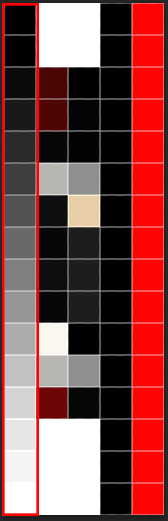
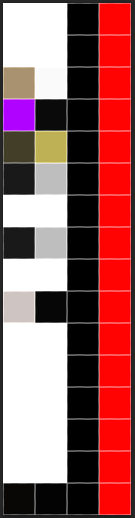
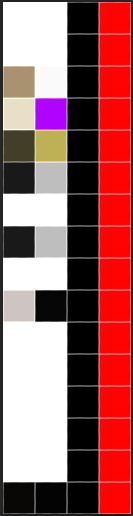
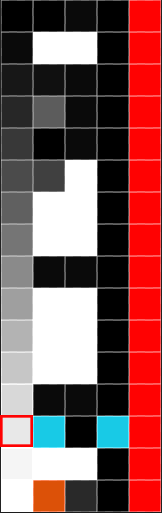
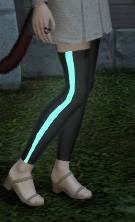
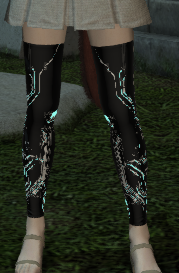
A texture can have a total of 16 different colors on it, based on the amount of rows in the ColorSet Texture.
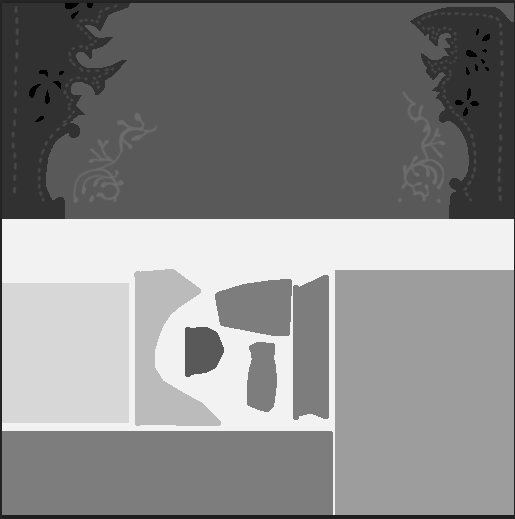
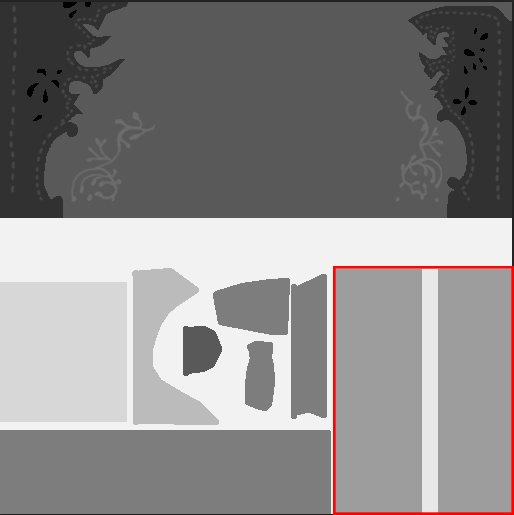
In order to determine which row affects which portion of gear, we have to cross reference the ColorSet with the Alpha Channel of the Normal Map.

If I know that this section is part of the body piece that I want to color differently, I go to the Alpha Channel.

In the Alpha Channel you will notice different grayscale colors ranging from white to black. We will focus on the section we want to color.

Using the Info window in Photoshop, we can determine what the RGB values for that section are by hovering over it.

Each Row in the ColorSet is associated with a certain value in the Alpha Channel. 

Here is the closest aproximation by row top to bottom:

  • #000000 (0, 0, 0)
  • #191919 (25, 25, 25)
  • #313131 (31, 31, 31)
  • #474747 (71, 71, 71)
  • #595959 (89, 89, 89)
  • #6C6C6C (108, 108, 108)
  • #7D7D7D (125, 125, 125)
  • #8E8E8E (142, 142, 142)
  • #9D9D9D (157, 157, 157)
  • #ACACAC (172, 172, 172)
  • #BBBBBB (187, 187, 187)
  • #C9C9C9 (201, 201, 201)
  • #D7D7D7 (215, 215, 215)
  • #E5E5E5 (229, 229, 229)
  • #F2F2F2 (242, 242, 242)
  • #FFFFFF (255, 255, 255)

Here is an approximation of what it would look like next to to their respective row.

So we determined that the piece that will be colored has a value of (70, 70, 70), the closest to that is row 4, below are examples of the results of coloring sections of row 4.

Examples

The color of Column 1 on the 4th row was changed to purple, which changed the base color of that portion to purple.

The color of Column 2 on the 4th row was changed to purple, which changed the Diffuse Color of that portion to purple.

Adding and Changing Color Sections

By modifying the Alpha Channel of the Normal Map, we can add more colors to the item, or create new patterns.

Example (Bridesmaid's Tights)

This is the original ColorSet from the Bridesmaid’s Tights.

I want to add an additional color to the item, I decided to add the color to row 14, so I color it in, and grab the grayscale color associated with that row

That is it for the ColorSet, we can save and Import.

Now that I have the color I need, I go to the Alpha Channel of my Normal Map.

I then color in a section with the grayscale color needed for the new color I added.

That is it for the Normal Map, we can save and Import.

The Result

Another Example